August 8, 2024
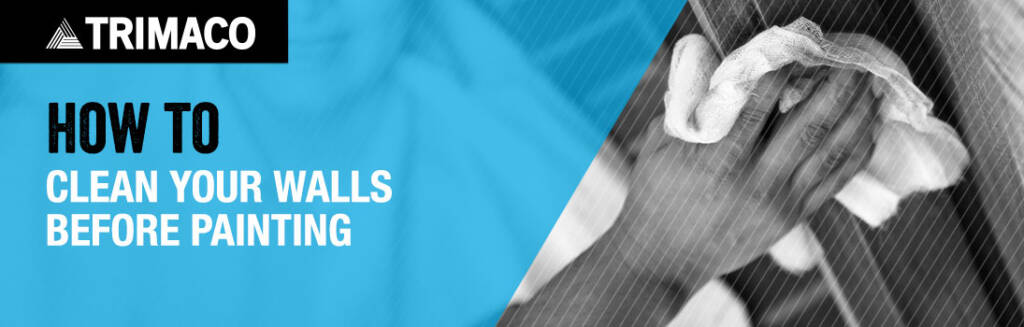
Painting your walls is a simple way to transform your living space. Whether you’re looking to freshen up a room with a new color or cover up scuffs and marks, a new coat of paint can make all the difference. Before you dive, it’s crucial to prep your walls and your surfaces properly to avoid costly mistakes.
A clean, smooth surface is the foundation of a successful paint job. Explore how to clean your walls before painting, ensuring a flawless finish.
Before popping open that paint bucket, you’ll need to gather cleaning and surface protection materials to ensure a smooth project. Having everything beforehand eliminates additional trips to a home improvement store, saving you time.
Before you start cleaning, make sure to clear the area around the walls or surfaces you’ll be painting. Move furniture towards the center of the room and cover it with plastic sheeting or a Trimaco plastic drop cloth to prevent paint damage.
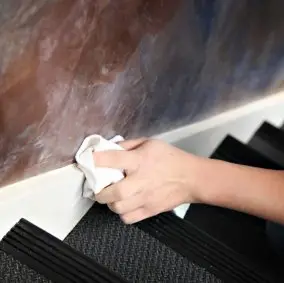
Dust can interfere with your paint’s adhesion, so it’s important to quickly dust your surfaces with a damp painter’s towel beforehand. Pay special attention to the areas near the ceiling and baseboards, and corners where dust tends to accumulate.
Next, it’s time to create a cleaning solution for the walls. Fill a bucket with warm water and add a few drops of mild detergent. Slowly and carefully wipe the walls with a painter’s towels.
For stubborn stains, such as crayon marks or scuffs, a mixture of baking soda and water can help lift tough stains without damaging the paint underneath.
After washing the walls, it’s important to wash away the soap residue. Simply rise out your painter’s cloth and rinse with clean warm water. Lastly, let the surfaces completely dry.
Next, take the time to inspect them for any holes, cracks, or imperfections. Use a putty knife to apply spackling paste to any damaged areas. Smooth it out with the putty knife and let it dry. Once dry, use medium-grit sandpaper to smooth out the patched areas, then switch to fine-grit sandpaper for a final, smooth finish.
After your walls are clean and patched up- it’s time to prep your surfaces for paint. Mask off windows, baseboard, door frames and light fixtures to prevent paint drips. We recommend tape these edges off with painter’s tape and masking paper or a pre-taped masking film. This will reduce the chance of paint dripping beyond the tape.
In addition to masking off your surfaces, we recommend laying down a slip resistant drop cloth to prevent damage to floors.
Give your walls one last inspection to make sure they’re completely clean, smooth, and dry. Any dust, dirt, or imperfections left on the wall can affect the final finish of your paint job.
Once everything looks smooth, prepped and ready- begin painting. Explore these tips to ensure a smooth and easy paint job.
Cleaning your walls before painting is a crucial step that can make a huge difference in the end result. By taking the time to properly prep your walls, you’ll ensure a smooth, flawless finish that will last for years to come. With these simple steps, you can tackle your painting project with confidence and enjoy a beautifully refreshed space.
Learn more about Trimaco’s painting products or contact us today!


Get Social
2 days ago
Video
Share on Facebook Share on Twitter Share on LinkedIn Share by Email
6 days ago
Photo
Share on Facebook Share on Twitter Share on LinkedIn Share by Email
1 week ago
Video
Share on Facebook Share on Twitter Share on LinkedIn Share by Email
2 weeks ago
Video
Share on Facebook Share on Twitter Share on LinkedIn Share by Email
2 weeks ago
Video
Share on Facebook Share on Twitter Share on LinkedIn Share by Email
Cling Cover is premium plastic sheeting clings to almost any surface, attracting overspray and keeping your workspace clean, bright, and protected.
2#trimaco #totaljobsiteprotection #savetimesavemoney #work #paint #painting #construction #constructionproducts #build #buildzoom
Prepping for renovation with Easy Mask Tape & Drape 🚨🚨
@refreshhomeimprovements
#trimaco #totaljobsiteprotection #savetimesavemoney #work #paint #painting #construction #constructionproducts #build #buildzoom #building #homebuild
Refresh your kitchen on a budget with an easy DIY backsplash ✨
4Check out our latest blog for a step by step guide: https://trimaco.com/blog/how-to-diy-a-kitchen-backsplash/
#trimaco #totaljobsiteprotection #savetimesavemoney #work #paint #painting #construction #constructionproducts #build #buildzoom
Highly absorbent and reusable, Trimaco’s Wonder Rag is your go-to for a spotless finish
2#trimaco #totaljobsiteprotection #savetimesavemoney #work #paint #painting #construction #constructionproducts #build #buildzoom #building #homebuild