April 29, 2021
Growing season is finally in full swing after an especially dark winter. Gardens are an inexpensive way to add beauty to your home, grow your own food and support your local ecosystem. With a few materials and a little elbow grease, your new garden will be up and running in no time!
There are a few things you’ll need to consider before building your garden. This includes deciding whether you’ll plant in the ground or build raised beds, how much area you have or will need, what type of soil you currently have, and what tools you have available. Keep reading to get started on your dream garden!
Decide where you want to place your garden and how much space (sqft) is available. Somewhere with about 5 hours of sunshine would be best if planning to grow vegetables and flowers, but shade gardens are just as beautiful and abundant! Observe your land for a few days to determine which area is best suited for your goals. Things to notice for a flourishing garden area are sunshine/shade, moisture and soil quality (clay/sand/loam).
There are easy to build raised garden bed kits available, but an inexpensive alternative is building them yourself or planting straight into the ground. You can easily purchase wood or find it secondhand. We suggest building beds 24 inches deep to allow plant roots adequate room to grow.
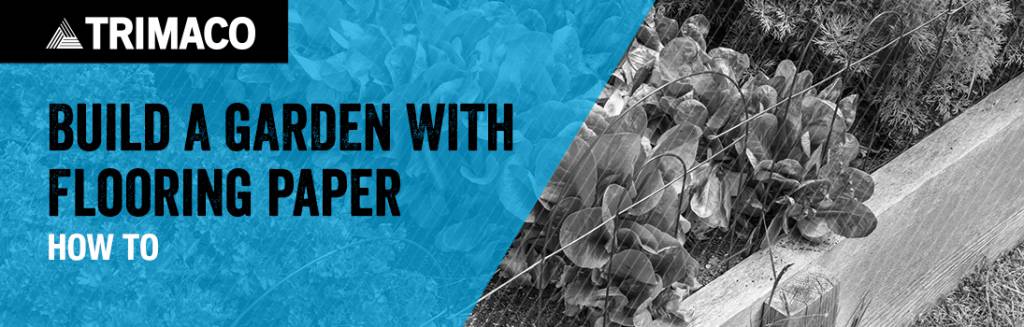
If you’re interested in planting immediately, you can either do this by pulling up sod or lightly tilling to loosen the soil. We recommend laying down a weed barrier paper over grass clippings and applying compost to kill the grass and prevent weeds from growing. The paper will decompose over the course of a few months and will result in rich soil ready to plant in. We suggest using rosin paper, builder’s paper, X-Paper, or newspaper.
If you are building a raised garden bed, you’ll need a couple bags of soil. Add compost to enrich your soil, and straw or mulching to help keep it moist. You can add any organic matter to your soil to help encourage beneficial bacteria, earthworms, and insects to make a home in your beds.
For more How-Tos and DIYs (like a DIY dust barrier), along with other helpful information like whether you can paint your house in the winter, please visit Trimaco’s blog post page.


Get Social
6 days ago
Video
Share on Facebook Share on Twitter Share on LinkedIn Share by Email
1 week ago
Video
Share on Facebook Share on Twitter Share on LinkedIn Share by Email
2 weeks ago
Video
Share on Facebook Share on Twitter Share on LinkedIn Share by Email
2 weeks ago
Video
Share on Facebook Share on Twitter Share on LinkedIn Share by Email
3 weeks ago
Video
Share on Facebook Share on Twitter Share on LinkedIn Share by Email
Cling Cover is premium plastic sheeting clings to almost any surface, attracting overspray and keeping your workspace clean, bright, and protected.
2#trimaco #totaljobsiteprotection #savetimesavemoney #work #paint #painting #construction #constructionproducts #build #buildzoom
Prepping for renovation with Easy Mask Tape & Drape 🚨🚨
@refreshhomeimprovements
#trimaco #totaljobsiteprotection #savetimesavemoney #work #paint #painting #construction #constructionproducts #build #buildzoom #building #homebuild
Refresh your kitchen on a budget with an easy DIY backsplash ✨
4Check out our latest blog for a step by step guide: https://trimaco.com/blog/how-to-diy-a-kitchen-backsplash/
#trimaco #totaljobsiteprotection #savetimesavemoney #work #paint #painting #construction #constructionproducts #build #buildzoom
Highly absorbent and reusable, Trimaco’s Wonder Rag is your go-to for a spotless finish
2#trimaco #totaljobsiteprotection #savetimesavemoney #work #paint #painting #construction #constructionproducts #build #buildzoom #building #homebuild