November 20, 2026
Temporary surface protection is designed to protect floors and other finished surfaces from paint, dust, spills, foot traffic, and construction debris. But if you’ve ever installed floor protection and found the edges lifting, the tape failing, or the material curling back up, you’re not alone.
In fact, contractors on forums often mention the same issues. Floor protection does not stay in place.
Seams pull apart over time. Products often curl back into their rolled shape. The good news is that installation methods usually cause these issues, not the protection material itself.
If you use Trimaco surface protection products like X-Board® or X-Paper®, follow a few best practices. These steps can help keep your floor protection secure during the project.
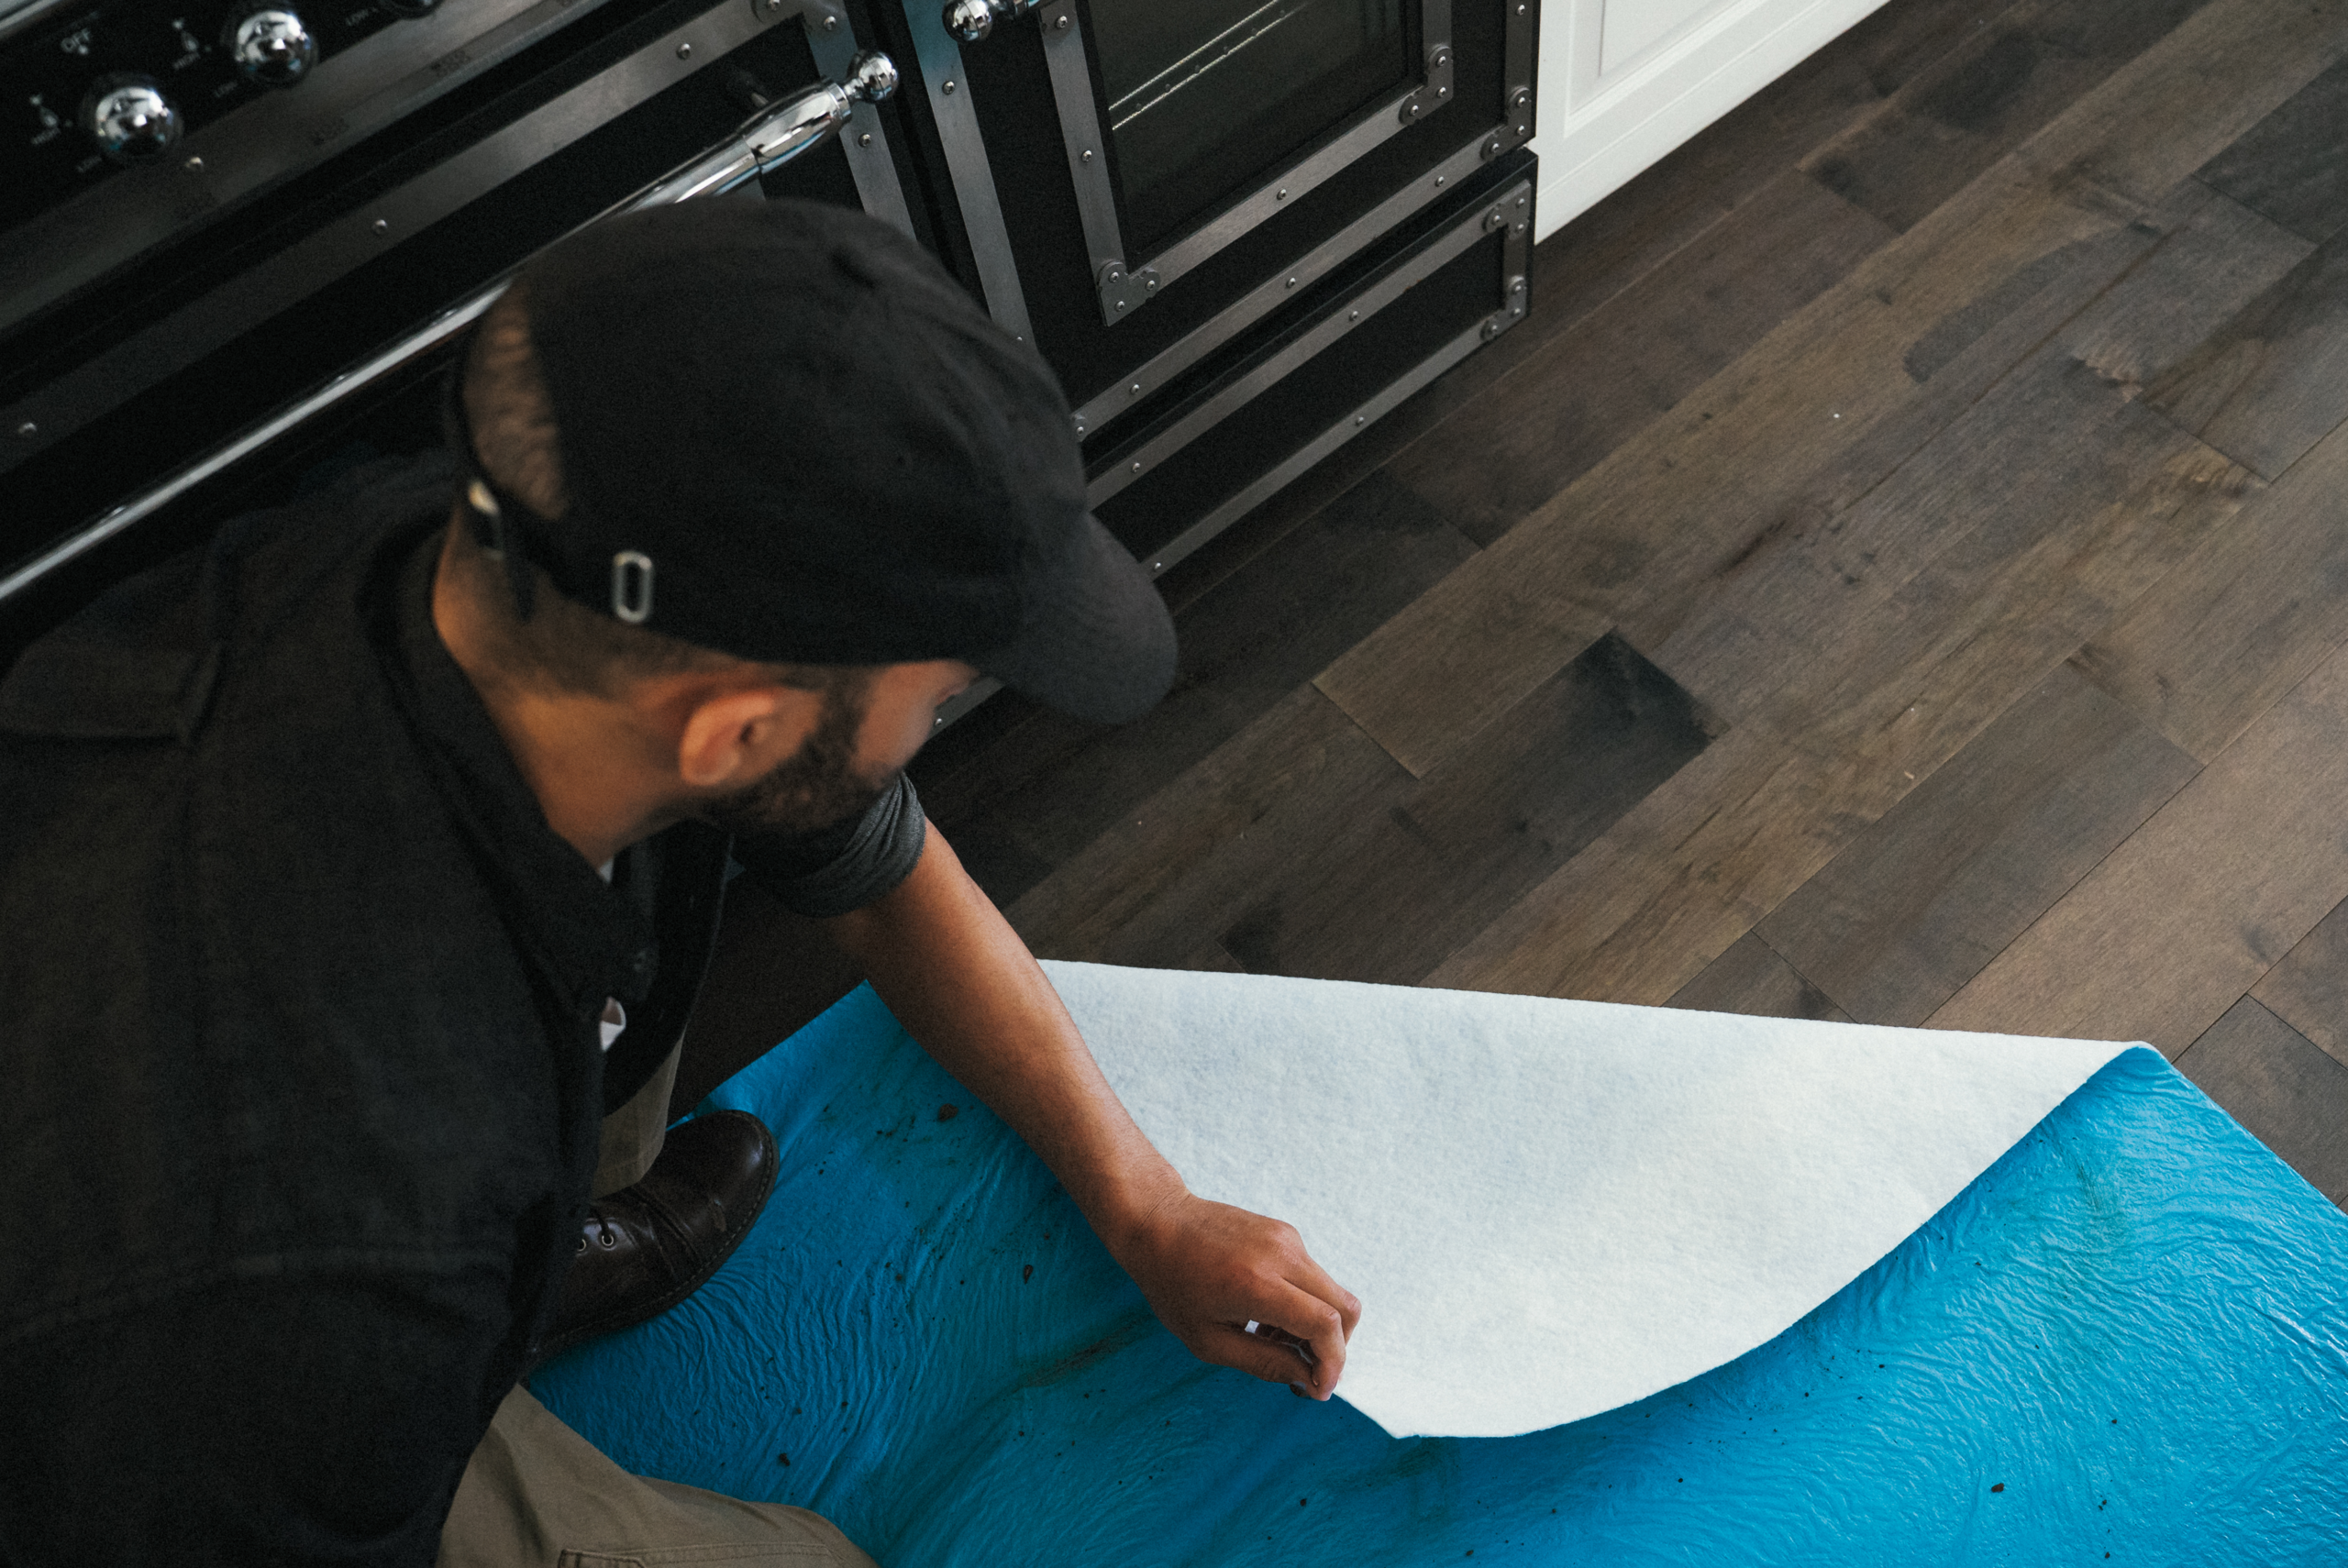
When floor protection shifts, lifts, or curls, the cause is usually poor installation, not the product itself. Contractors often first notice problems when edges lift. Corners may curl up.
Tape may lose its grip. Protection may shift in busy areas. Over time, seams may also start to separate, creating gaps that can expose the floor underneath.
In many cases, conditions on the jobsite cause these issues. Dust and debris left on the floor can interfere with tape adhesion, while moisture may prevent tapes from bonding properly. Using the wrong tape for the surface can cause movement after installation.
Failing to secure seams and edges well can also cause movement.
Not accounting for the natural roll memory of floor protection materials can also lead to movement. Fortunately, with proper surface prep, the right tape, and correct installation, most of these problems are easy to prevent.
The most important step in any temporary floor protection installation happens before the protection material ever touches the floor.
Thoroughly sweep, vacuum, and dry the floors before installation. Even a small amount of dust can reduce tape adhesion and increase the likelihood of edges lifting over time.
Take extra care around:
A clean surface allows both the protection material and the tape to perform as intended.
Not every project requires the same level of protection. Selecting the appropriate surface protection products can make a significant difference in performance.
| Surface Type | Recommended Product |
|---|---|
| Hardwood | X-Paper |
| Tile & Stone | X-Board |
| New Construction | X-Board Pro |
| Painting Projects | X-Paper |
| Remodels | X-Board |
Using the right surface protection materials helps reduce movement, improve durability, and cut the need for ongoing adjustments.
One of the most common contractor questions is how to secure floor protection without damaging the floor beneath it. The answer starts with focusing on the perimeter.

Many floor protection failures begin when someone catches a loose edge with a boot, ladder, cart, or tool. Once an edge starts lifting, the problem often spreads across the entire protected area.
If multiple sections of protection are installed together, every seam should be properly secured.
High-traffic areas may require additional tape to prevent movement and ensure long-term performance.
Floor protection tape not sticking is one of the most common installation frustrations on job sites.
Before assuming the tape is defective, check these factors:
Dust, drywall residue, and construction debris can interfere with adhesion.
Even slight moisture can reduce tape performance and cause edges to loosen.
Different surfaces may require different adhesives. Surface protection tapes should be compatible with both the protection material and the flooring underneath.
After applying tape, firmly press it into place to create a strong bond.
We’ve heard directly from the trades that adding an adhesive surface protector, like Trimaco Stay PutTrimaco Stay Put, underneath a heavy-duty board can provide an extra layer of protection. If the board begins to wear or tear, Stay Put helps protect the surface underneath while also adding an extra barrier against spills.
If you’ve ever unrolled floor protection and it curls back, you’re seeing roll memory.
Many rolled surface protection products naturally keep the shape of their packaging. This can cause corners and edges to lift during installation.
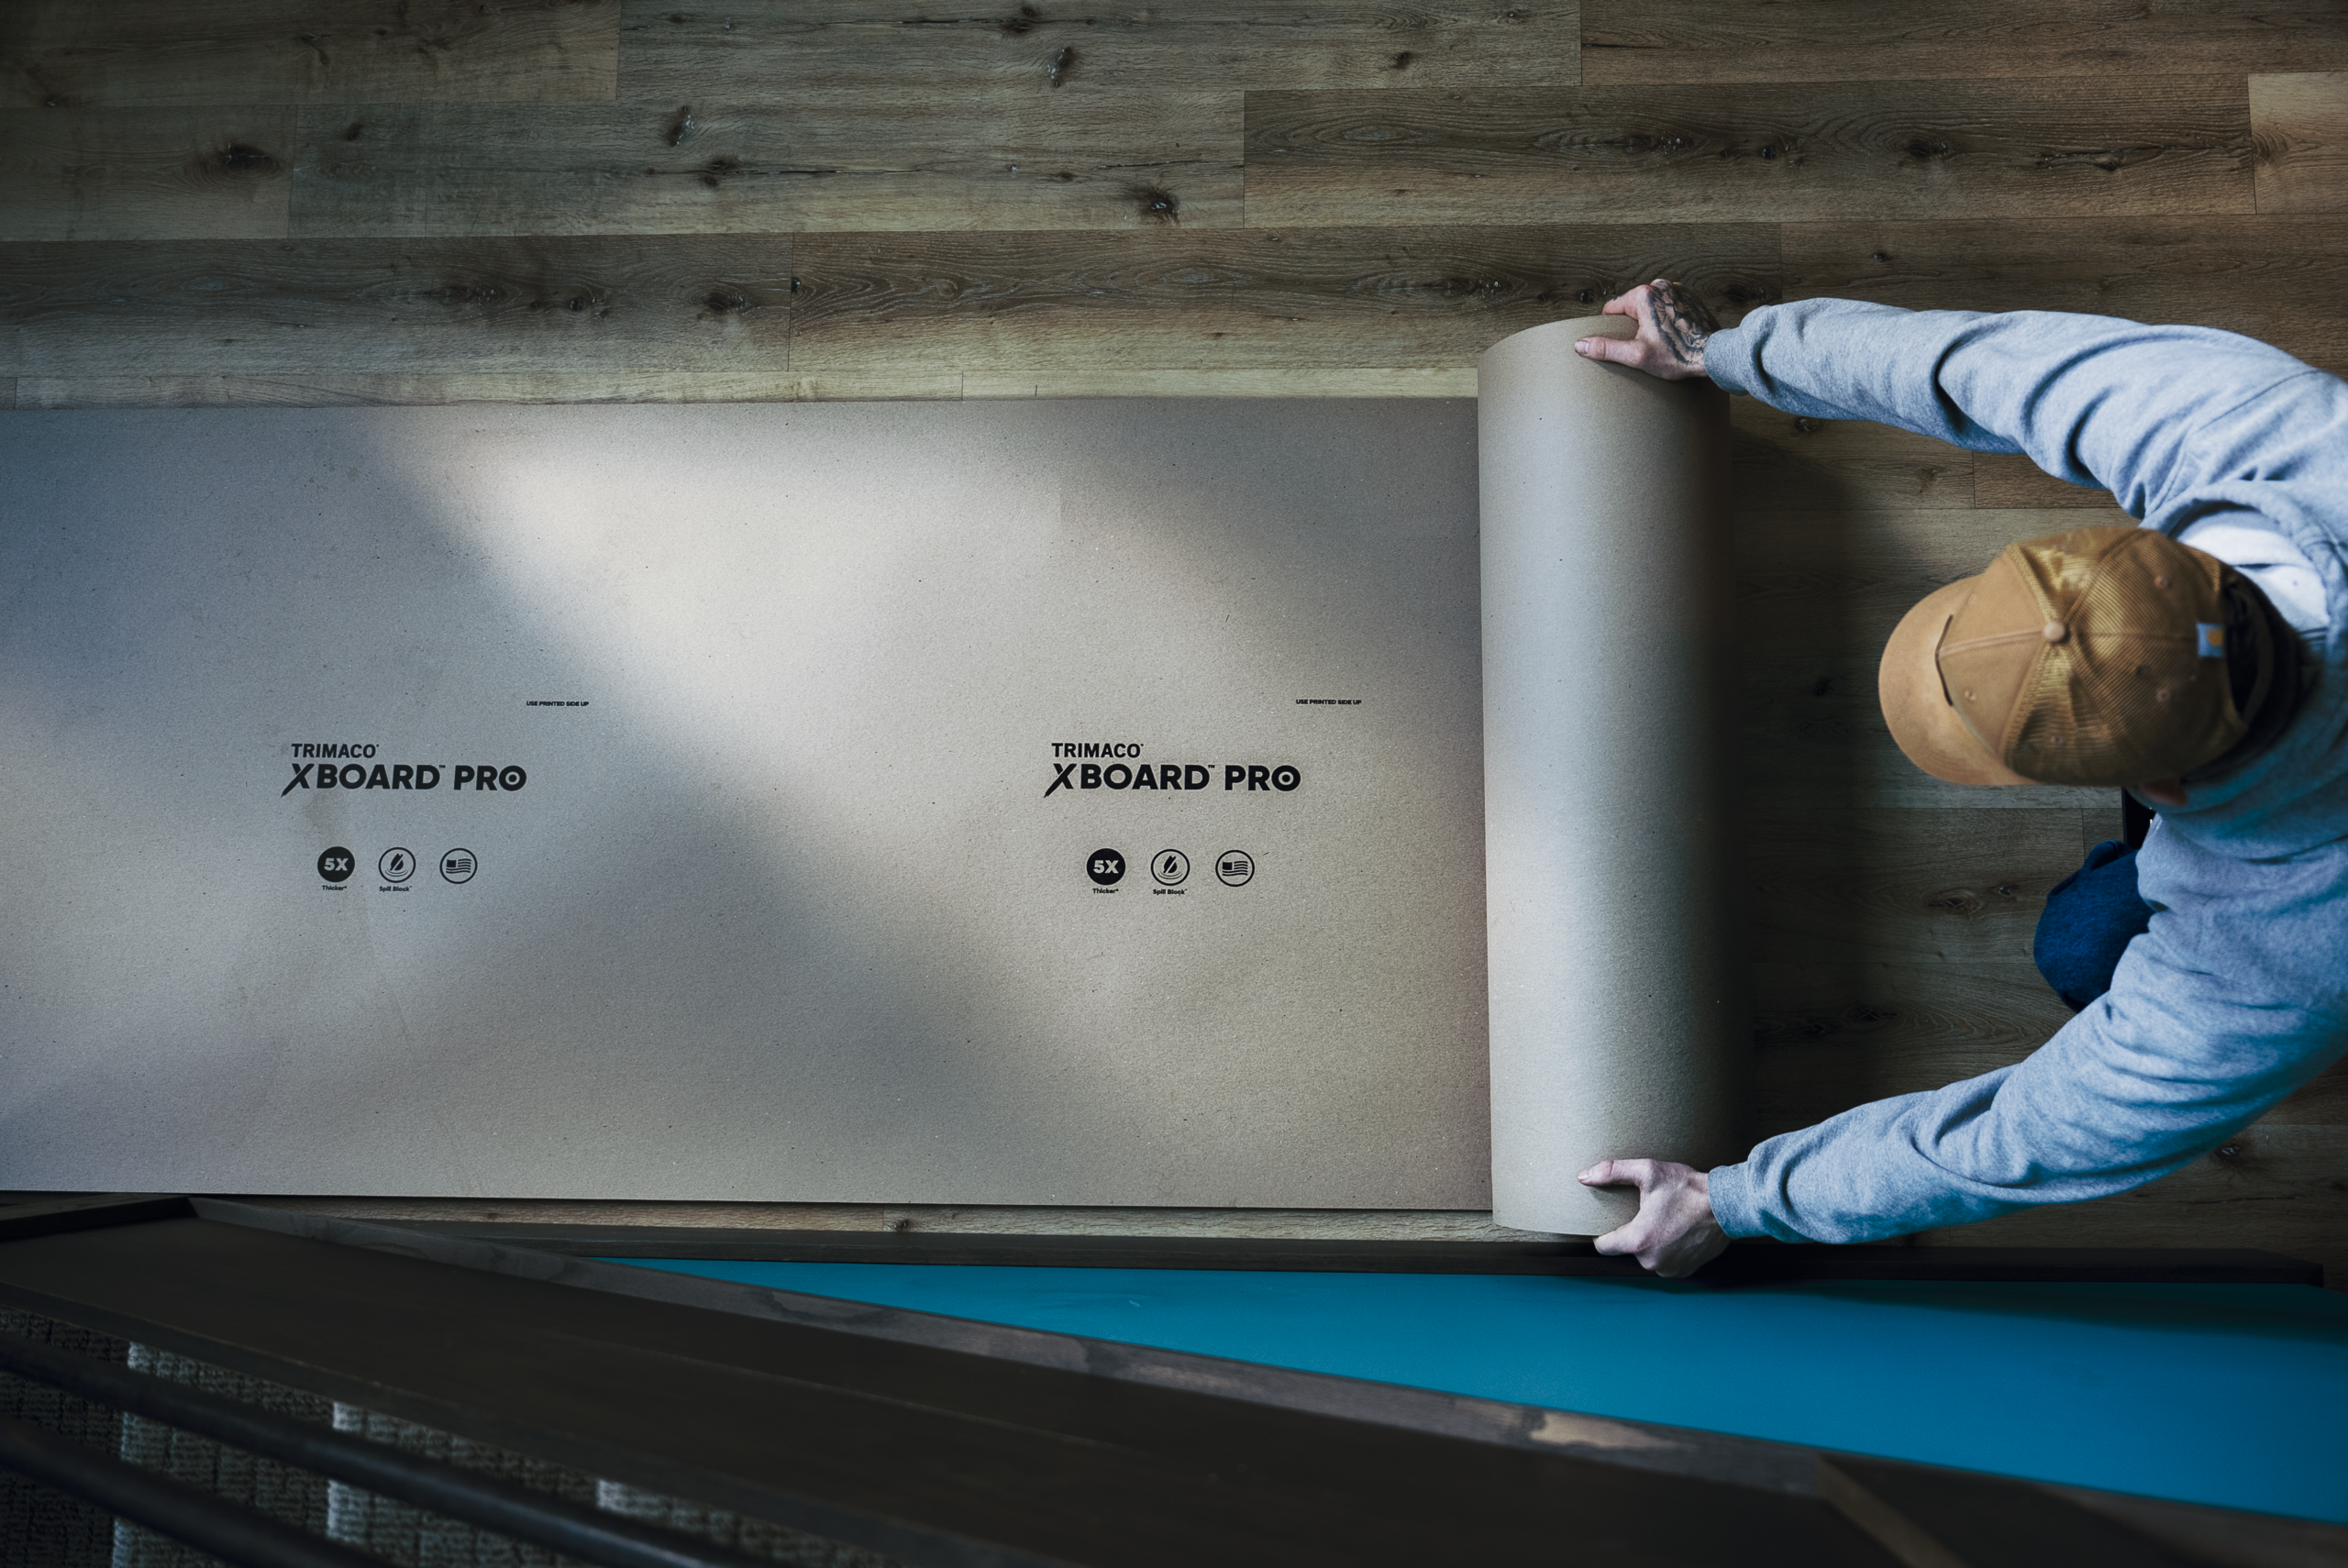
For easier installation, gently roll the board back in the opposite direction before laying it down. This helps reduce the natural curl of the material, allowing it to lay flatter and making it easier to position and secure.
Additionally, these floor protection installation tips:
Addressing roll memory early helps keep the material flat and secure.
If you’re using X-Board® floor protection and want installation best practices, read our blog. It shares clear details on how to apply it
Inadequate securement, dust on the floor, moisture, or foot traffic catching exposed corners typically causes edge lifting.
Start with a clean, dry floor, choose appropriate surface protection tapes, and secure all edges and seams during installation.
Dust, moisture, incompatible adhesives, and insufficient pressure during application are common causes.
Yes. Securing seams helps stop movement. It keeps debris from reaching the protected surface. It also helps the installation work well longer.
For active construction projects, we recommend daily inspections, especially in high-traffic areas.
Most issues with floor protection shifting, lifting, or curling come from poor surface prep, wrong tape, or bad installation. By starting with a clean floor, contractors can avoid many common frustrations discussed online. They should also choose the right surface protection products and secure all edges and seams. Whether you’re installing X-Board®, X-Paper®, or other surface protection solutions, a few extra minutes during setup can help ensure your protection stays exactly where it belongs until the job is complete.







Get Social
Problem displaying Facebook posts. Backup cache in use.
Click to show error
Trimaco
@trimacoinc ·Cling Cover is premium plastic sheeting clings to almost any surface, attracting overspray and keeping your workspace clean, bright, and protected.
2#trimaco #totaljobsiteprotection #savetimesavemoney #work #paint #painting #construction #constructionproducts #build #buildzoom
Trimaco
@trimacoinc ·Prepping for renovation with Easy Mask Tape & Drape 🚨🚨
@refreshhomeimprovements
#trimaco #totaljobsiteprotection #savetimesavemoney #work #paint #painting #construction #constructionproducts #build #buildzoom #building #homebuild
Trimaco
@trimacoinc ·Refresh your kitchen on a budget with an easy DIY backsplash ✨
4Check out our latest blog for a step by step guide: https://trimaco.com/blog/how-to-diy-a-kitchen-backsplash/
#trimaco #totaljobsiteprotection #savetimesavemoney #work #paint #painting #construction #constructionproducts #build #buildzoom
Trimaco
@trimacoinc ·Highly absorbent and reusable, Trimaco’s Wonder Rag is your go-to for a spotless finish
2#trimaco #totaljobsiteprotection #savetimesavemoney #work #paint #painting #construction #constructionproducts #build #buildzoom #building #homebuild