September 30, 2025
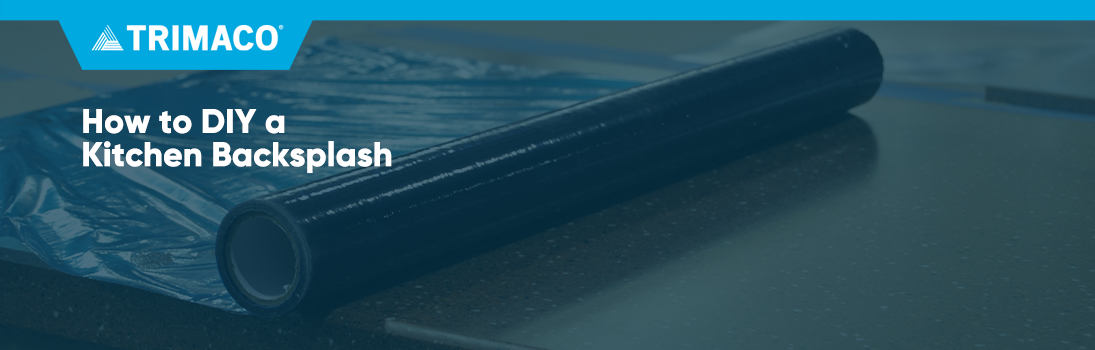
Adding a backsplash is one of the easiest ways to refresh your kitchen and add a touch of personality, without spending a fortune. Whether you’re going for a clean, modern look or something more rustic and textured, this easy DIY kitchen backsplash project is totally achievable with the right prep, tools, and a little patience.
We’ve simplified an easy DIY tile installation into 10 steps:
Before you start tiling, it’s essential to protect your kitchen surfaces and create a clean, safe workspace. This step will save you time and cleanup later.
Start by masking off trim and windows using a repositionable tape like FloorSmart Tape or blue painter’s tape. If your countertop has a small built-in backsplash that rises up the back wall, protect that area with tape and masking film. Trimaco’s Tape & Drape not only masks off the wall but also includes a plastic drop that catches dust, mortar, and grout.
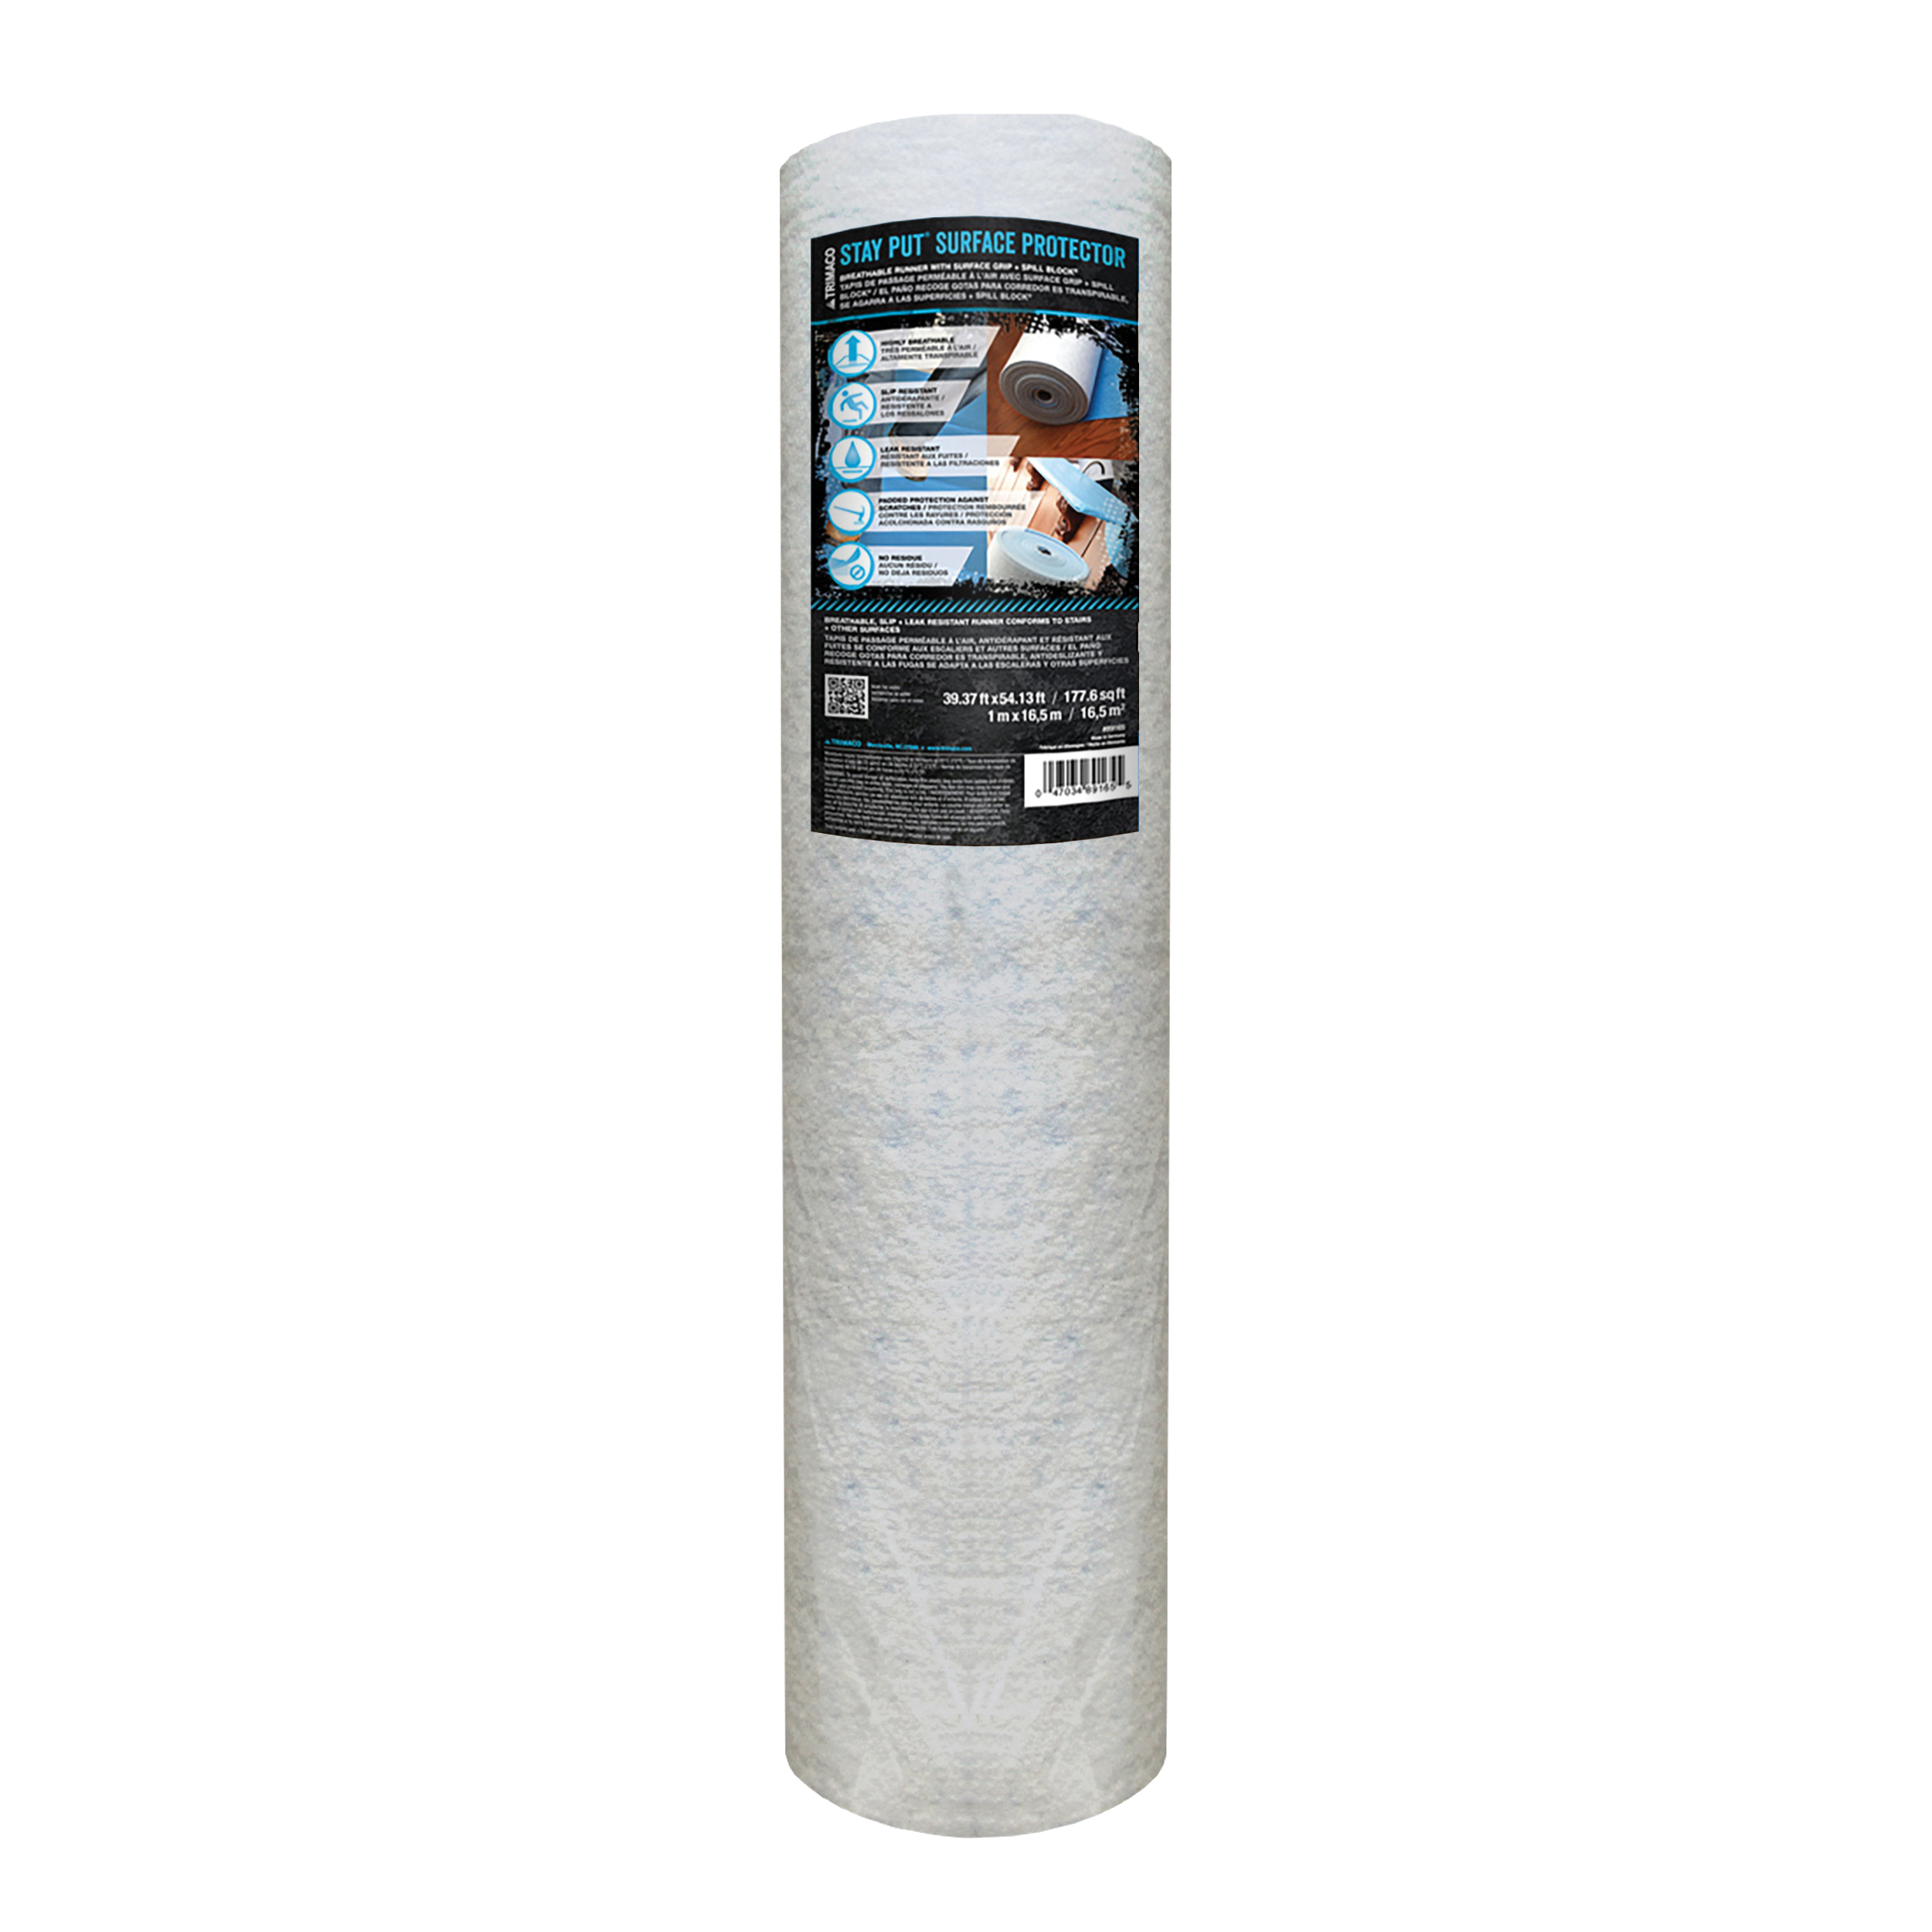
Next, cover your countertops with Trimaco’s Stay Put® Surface Protector to protect against dirt, moisture, and impact. Then, lay down a slip-resistant, leak-resistant drop cloth (like the Stay Put® Canvas Plus) to protect your floors. If needed, move your oven out to access the back wall more easily.
*TIP: Remove electrical outlet covers and tape over the outlets to keep them clean and safe during installation.
Once your space is protected, it’s time to mix your mortar and organize your tiles. Using a drill with a mixing attachment, pour your mortar into a bucket and slowly add water until it reaches a thick, icing-like consistency. You want it to be spreadable but not runny.
Unwrap your tiles and place them in an organized, easy-to-reach area so you can work efficiently without stopping to search for pieces.
Begin in the back corner of your backsplash area. Smooth a layer of mortar onto the back of your first tile using a ceramic trowel. Once the tile is fully coated, use the wide rectangular end of the trowel to create texture – this helps the tile adhere securely to the wall.
Press the tile into place and add a spacer at the bottom to keep it slightly elevated off the countertop. This ensures a clean line and allows for caulking later.
Continue applying tiles, gently sliding each into place next to the previous one. Insert spacers between each tile to maintain even spacing and alignment. Repeat this process until the entire bottom row is covered.
When you move on to the second row, add visual interest by staggering the tiles rather than stacking them directly above the first row. You may need to cut your first tile in half using a wet saw to start the staggered pattern.
As you install the second row, use spacers on all sides to keep the tiles evenly spaced and aligned.
When you reach outlets or light switches, you’ll need to make precise cuts using a wet saw. Measure your tiles carefully with a pencil, then cut and install them just like full tiles, using mortar and spacers.
At the end of a wall, finish with a tile edger to give your backsplash a clean, professional look. Edgers help frame the tile and provide a smooth transition to the surrounding wall.
Once all tiles are installed, allow the mortar to cure for 24 hours before moving on to grout. While quick-setting mortar is available, it’s less forgiving for beginners and can be tricky to work with if you make a mistake.
Mix your grout using the same drill attachment. The grout should be slightly smoother and wetter than the mortar. Using a rubber grout float, press the grout into the tile joints, working in small sections.
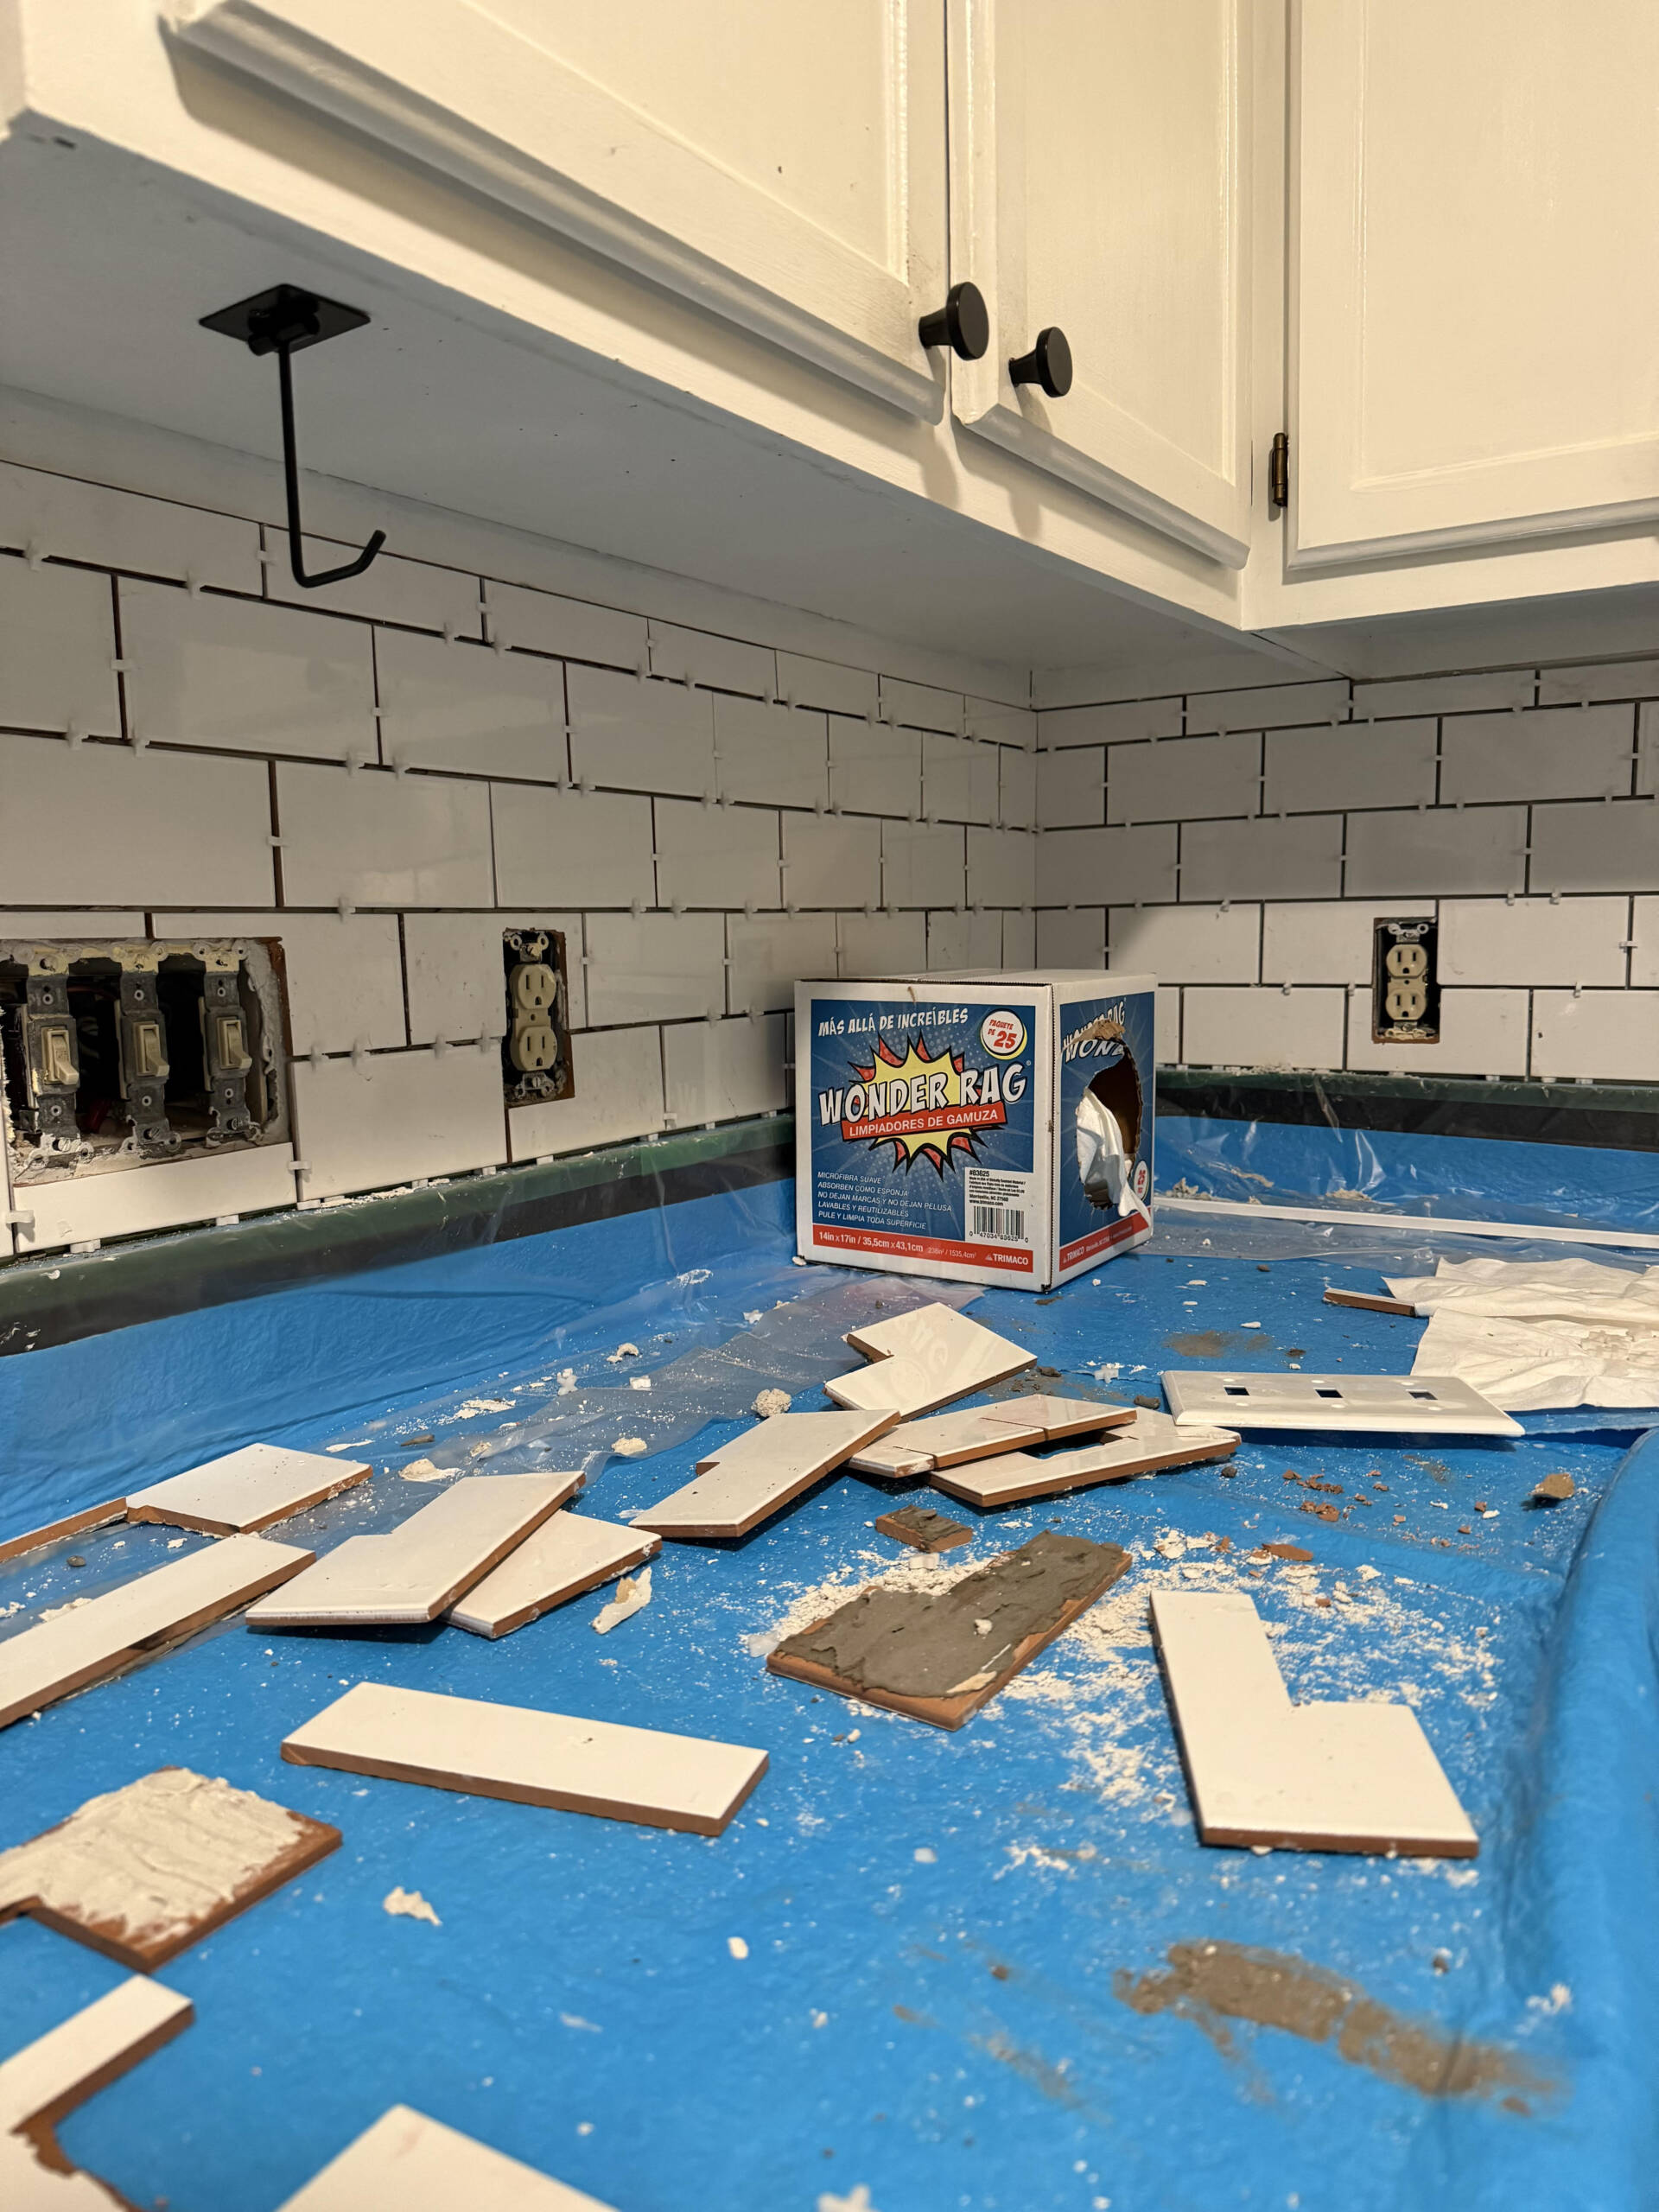
Wipe away excess grout with a wet sponge. Rinse and repeat as needed until the tiles are clean and the joints are filled. Once your grout is mostly gone, use a dry Wonder Rag to remove the last little bit of excess grout. Let the grout cure for another 24 hours before moving on to the final step.
Apply caulk along the base trim, side edges, and windowsills for a polished, finished look. This seals the edges and prevents moisture from getting behind the tiles. Keep a Wonder Rag close by to remove any caulk you may get on the tile.
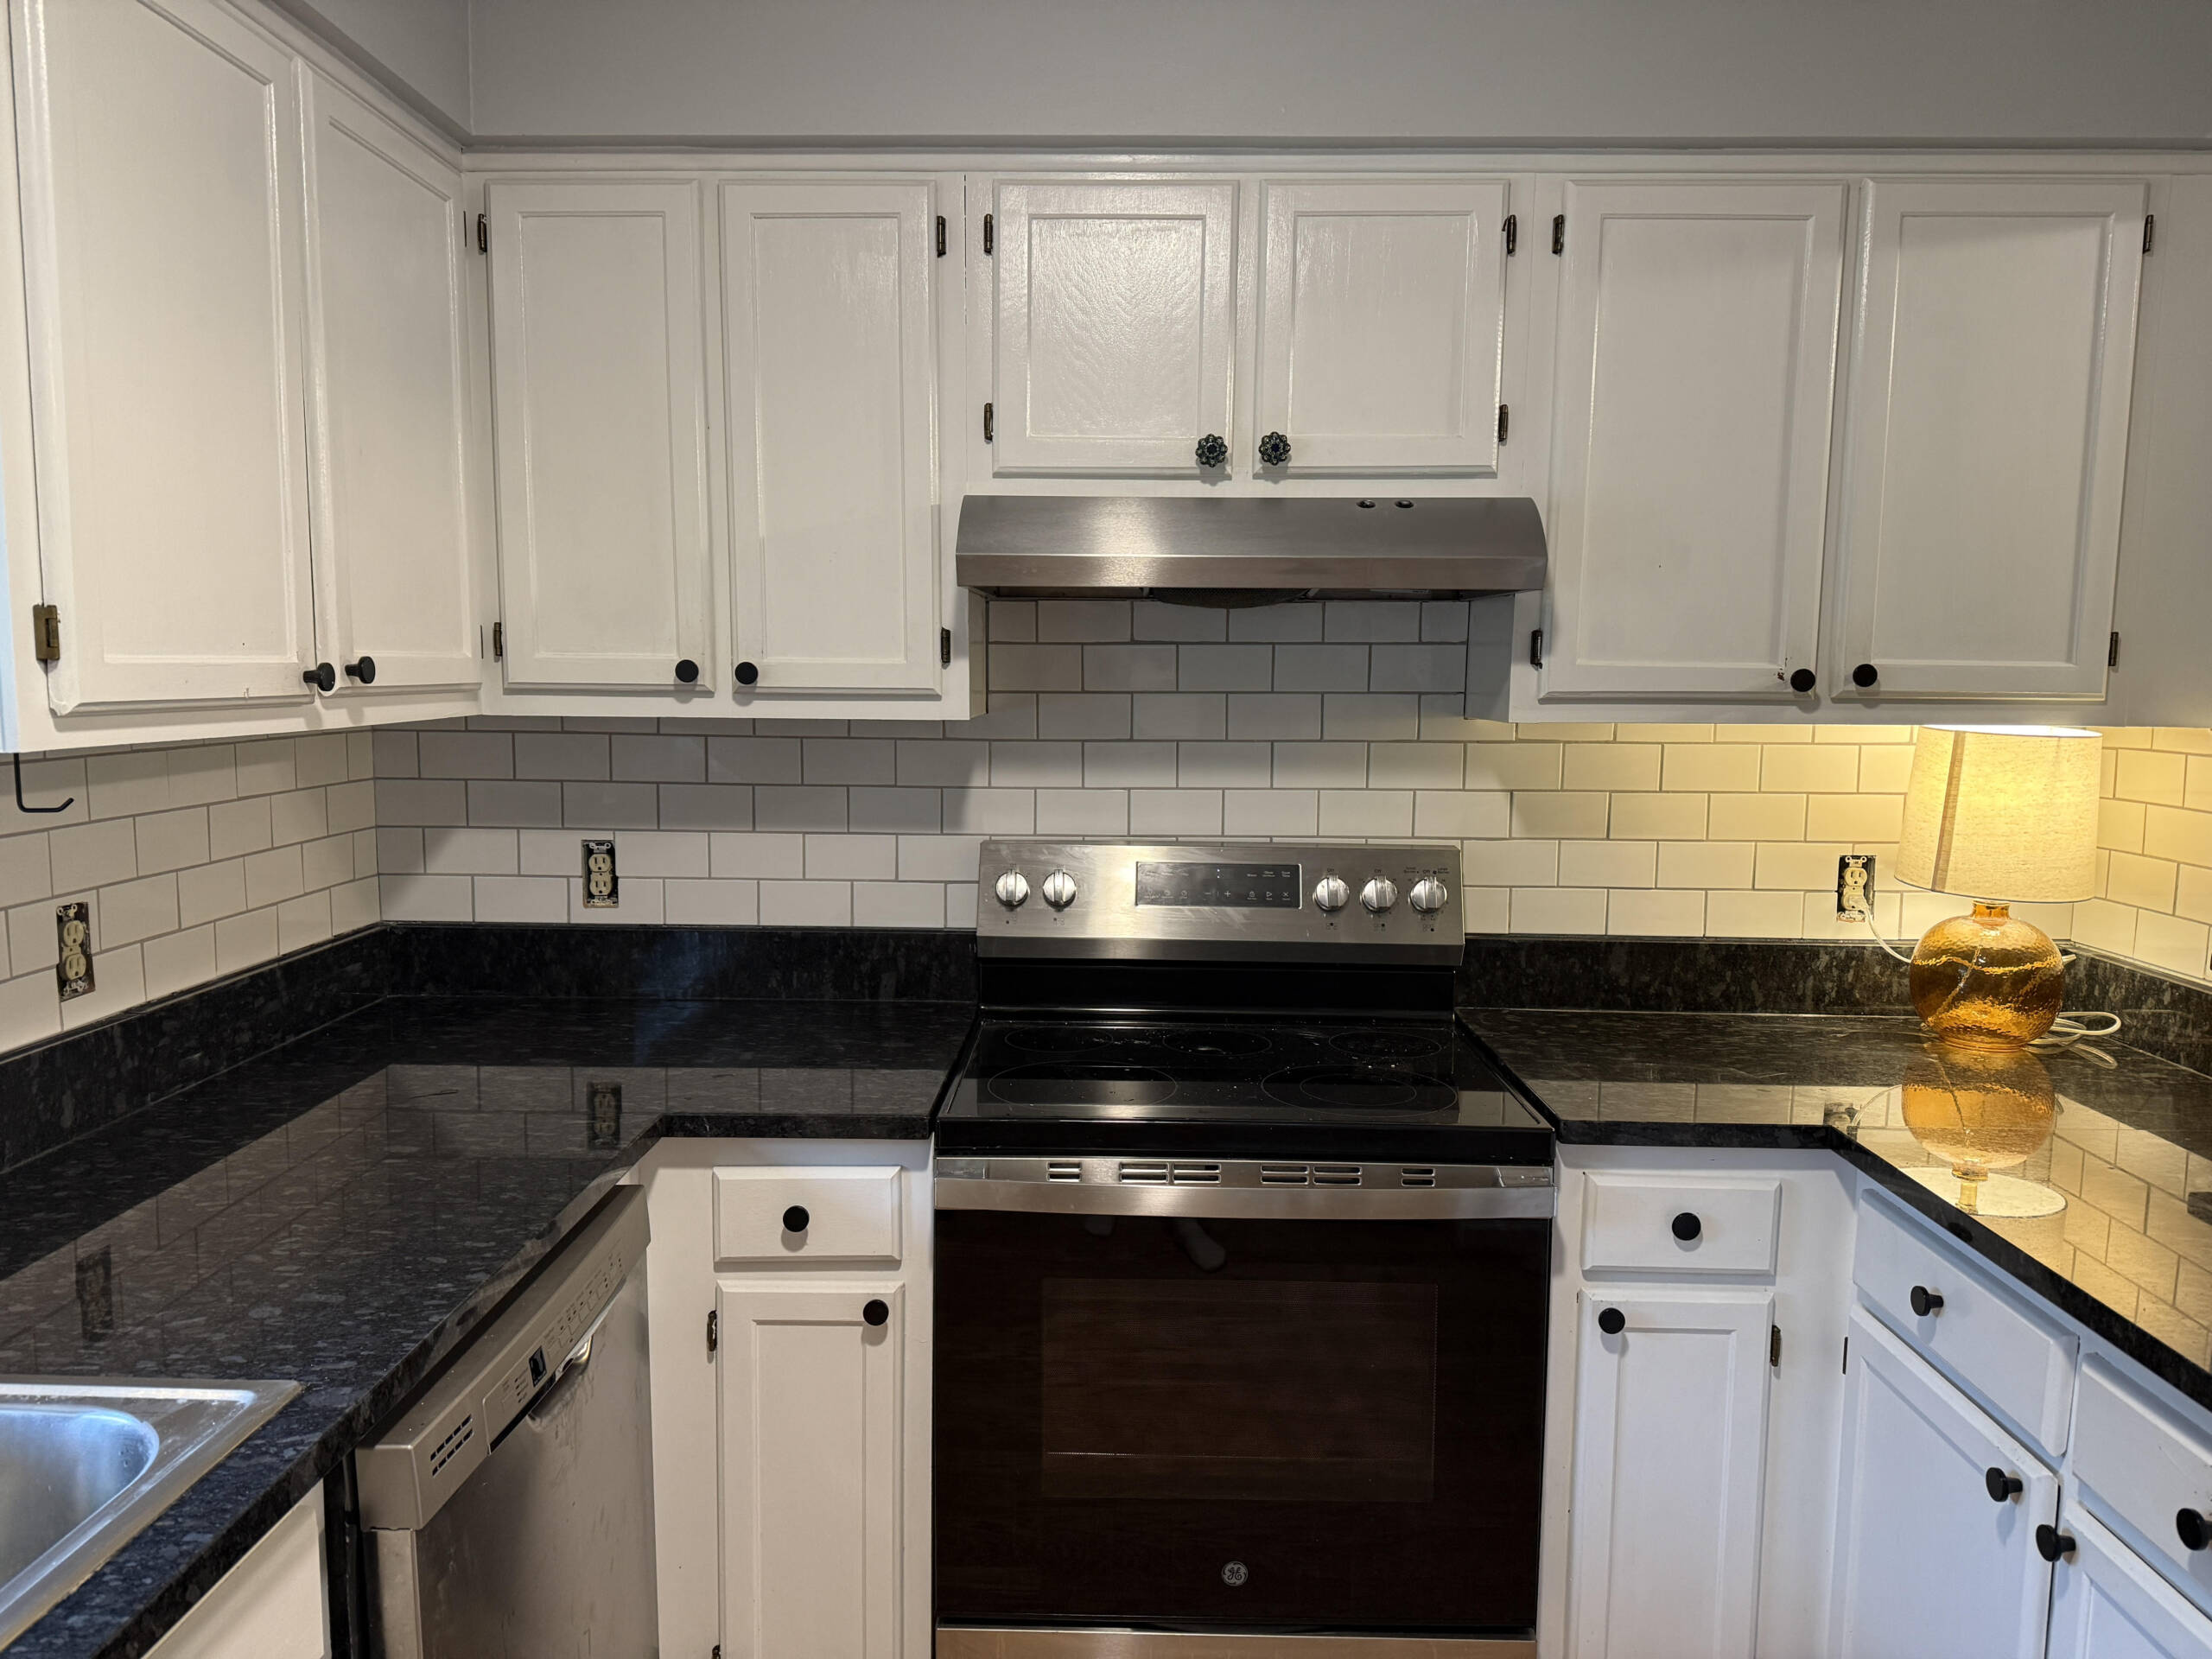
Once the caulk is dry, add spacers behind your electrical outlets so they sit flush with the tile. Move your appliances back into place, clean up your workspace, and enjoy your beautiful new backsplash. With Trimaco’s surface protection products and a little DIY spirit, you’ve just completed a kitchen upgrade that adds style, value, and personality to your home- all on your own!


Get Social
5 months ago
Video
Share on Facebook Share on Twitter Share on Linked In Share by Email
5 months ago
Video
Share on Facebook Share on Twitter Share on Linked In Share by Email
5 months ago
Photo
Share on Facebook Share on Twitter Share on Linked In Share by Email
5 months ago
Video
Share on Facebook Share on Twitter Share on Linked In Share by Email
5 months ago
Video
Share on Facebook Share on Twitter Share on Linked In Share by Email
Cling Cover is premium plastic sheeting clings to almost any surface, attracting overspray and keeping your workspace clean, bright, and protected.
2#trimaco #totaljobsiteprotection #savetimesavemoney #work #paint #painting #construction #constructionproducts #build #buildzoom
Prepping for renovation with Easy Mask Tape & Drape 🚨🚨
@refreshhomeimprovements
#trimaco #totaljobsiteprotection #savetimesavemoney #work #paint #painting #construction #constructionproducts #build #buildzoom #building #homebuild
Refresh your kitchen on a budget with an easy DIY backsplash ✨
4Check out our latest blog for a step by step guide: https://trimaco.com/blog/how-to-diy-a-kitchen-backsplash/
#trimaco #totaljobsiteprotection #savetimesavemoney #work #paint #painting #construction #constructionproducts #build #buildzoom
Highly absorbent and reusable, Trimaco’s Wonder Rag is your go-to for a spotless finish
2#trimaco #totaljobsiteprotection #savetimesavemoney #work #paint #painting #construction #constructionproducts #build #buildzoom #building #homebuild